

As a homeowner, learning essential DIY skills can save you time and money and prevent minor issues from escalating into costly repairs.
The following 15 DIY tasks will help any homeowner improve the safety, efficiency, and longevity of their home systems.
From routine inspections to simple adjustments, learning these 15 skills will empower you to maintain your property effectively, ensuring comfort and peace of mind without always calling professionals.
1) Inspecting Attic for Leaks

How To Find A Roof Leak:
Regular attic inspections can catch leaks early, preventing water damage and mold growth. Start by accessing your attic safely, using a sturdy ladder and wearing protective gear such as gloves and a mask.
- Look for water stains, damp insulation, or daylight peeking through the roof.
- Check around vents, chimneys, and plumbing stacks for gaps or cracks.
- Use a flashlight to examine rafters and sheathing for discoloration.
Tools Needed – Sturdy 6–8 ft A-frame ladder – High-lumen flashlight or headlamp – N95 dust mask & work gloves – 2×10 board to walk on joists – Smartphone camera
Safety Tips: Never step between joists—you’ll fall through the ceiling. Test ladder stability before entering the attic, and have someone spot you. Avoid live wiring and never enter a wet attic (electrocution risk).
Summary: A 15-20-minute inspection twice a year can save you tens of thousands in repairs.
Reminder: Annual inspections, especially after heavy rain, help maintain structural integrity and prevent costly repairs.
2) Changing HVAC Filters
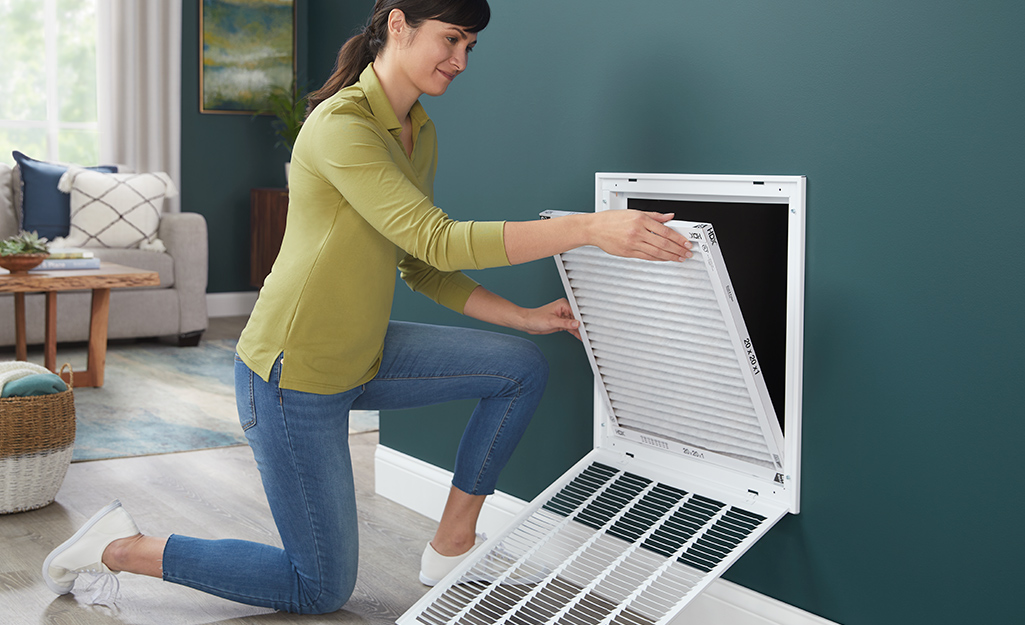
How to Change a Home Air Filter
Changing HVAC filters improves air quality and system efficiency, reducing energy bills. Locate the filter slot in your furnace or air handler, usually behind a panel.
- Turn off the system before removal to prevent dust from circulating.
- Note the filter size and type for replacement; slide the old one out and insert the new one with arrows pointing toward airflow.
- Dispose of the dirty filter properly.
Tools Needed – Correct replacement filter – Screwdriver (if panel is fastened) – Flashlight – Dust mask (optional)
Safety Tips: Always turn off the HVAC at the thermostat or breaker first. Watch out for sharp metal edges.
Summary: One of the easiest ways to cut energy costs and extend furnace/AC life.
Reminder: Perform this every 1-3 months to extend the HVAC system’s lifespan and enhance indoor comfort.
3) Inspecting Garage Door Safety Shut-Off Devices

- Align the sensors on both sides of the door; clean the lenses if they are dirty.
- Place an object, such as a wood block, under the door and close it; the sensors should reverse the garage door upon contact.
- Check for loose wiring or misalignment that may be causing malfunctions.
Tools Needed – 2×4 board or cardboard box – Soft cloth & glass cleaner – Step stool – Small level (for realignment)
Safety Tips: Never use your body to test. Disconnect the power to the garage door opener before any electrical adjustments.
Summary: Takes less than 15 minutes and can prevent tragic accidents.
Reminder: Regular inspections safeguard family members and pets while ensuring compliance with safety standards.
4) Lubricating Garage Doors
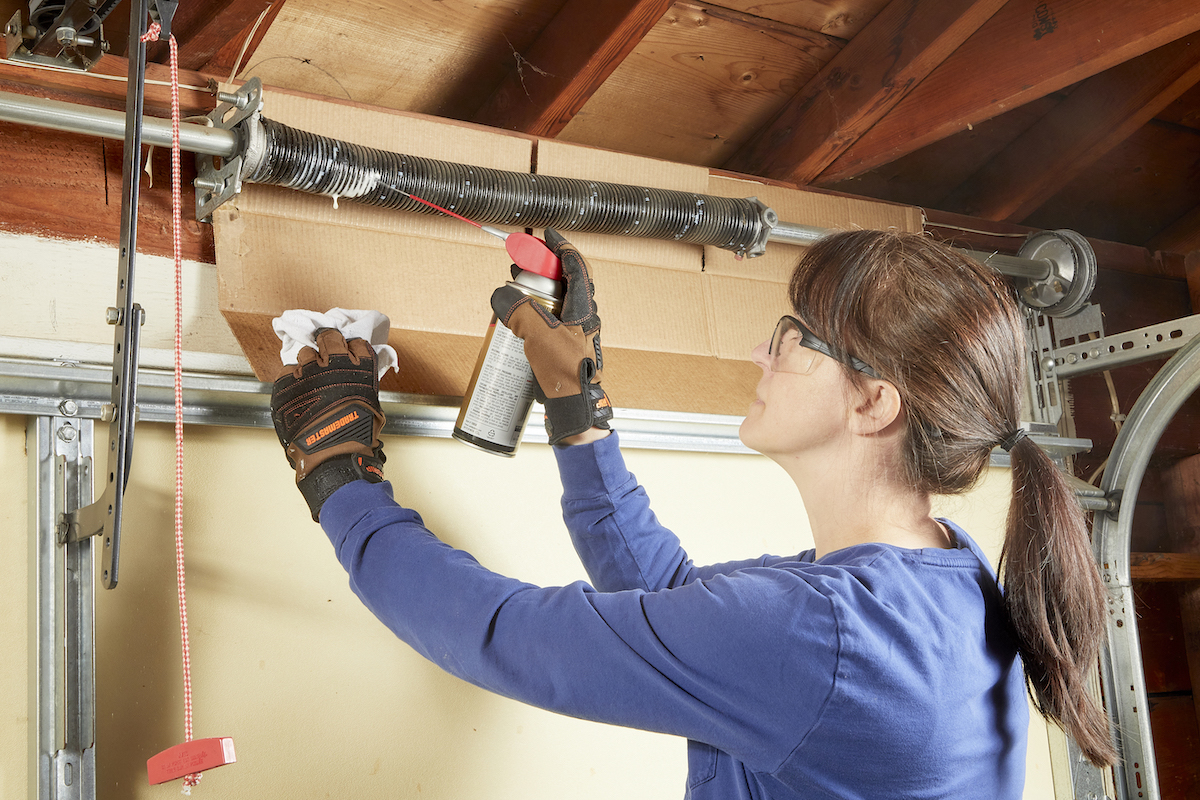
Lubricating garage doors reduces noise and wear, ensuring smooth operation. Use a silicone-based spray on moving parts.
- Open the door and apply lubricant to rollers, hinges, and tracks.
- Avoid over-lubricating to prevent attracting dirt; wipe excess.
- Test the door’s balance by disconnecting the opener and lifting manually.
Tools Needed – Garage-door-specific silicone or lithium spray – Clean rag – Step ladder
Safety Tips: Disconnect the opener first. Wear safety glasses. Never use WD-40 long-term; it evaporates and doesn’t maintain proper lubrication for garage rollers and track.
Summary: Lubrication stops squeaking and prevents premature wear.
Reminder: Annual lubrication extends the life of garage doors and reduces the need for repairs.
5) Trimming Bushes Away from Air Conditioning Units

Tips for Landscaping Around Your AC Unit:
Keeping bushes trimmed prevents airflow restriction, improving AC efficiency and preventing overheating.
- Maintain at least 2 feet of clearance around the unit.
- Use pruning shears to carefully cut back overgrown branches.
- Remove debris, such as leaves, from the unit’s fins.
Tools Needed – Bypass pruners & loppers – Hedge shears – Gloves, long sleeves, safety glasses – Tarp for clippings
Safety Tips: Temporarily turn the AC off at the breaker. Beware of wasps, snakes, and hidden electrical lines.
Summary: Improves cooling efficiency by up to 30 % and prevents compressor failure.
Reminder: Seasonal trimming enhances cooling performance and reduces energy costs.
6) Cleaning Your Refrigerator Coil
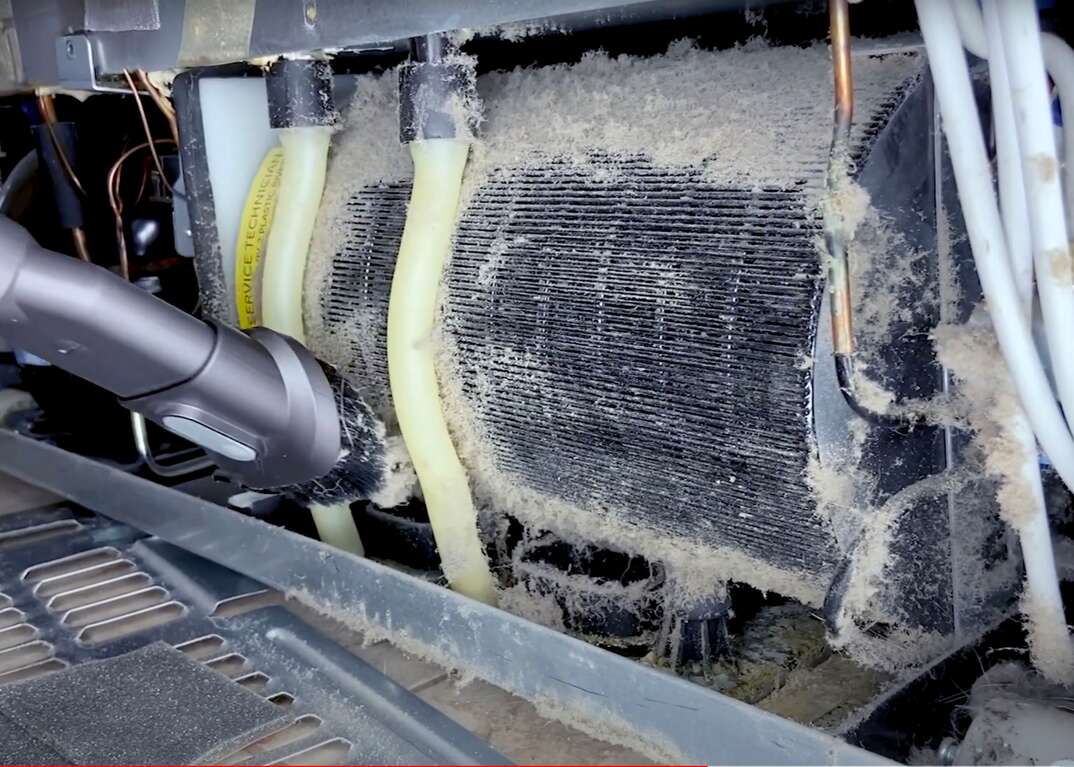
How to Clean Refrigerator Coils
Cleaning coils removes dust buildup, allowing efficient cooling and lower electricity use.
- Unplug the fridge and locate coils at the back or bottom.
- Use a coil brush or vacuum attachment to gently remove dirt.
- Avoid bending fins; clean every 6 months.
Tools Needed – Vacuum with brush/crevice tool – Long coil-cleaning brush – Flashlight – Screwdriver (if needed)
Safety Tips: Unplug the refrigerator first. Never bend or puncture coils.
Summary: Can reduce energy use by 20–30 %.
Reminder: This simple task prolongs appliance life and saves on utility bills.
7) Learning How to Reset GFI Outlets
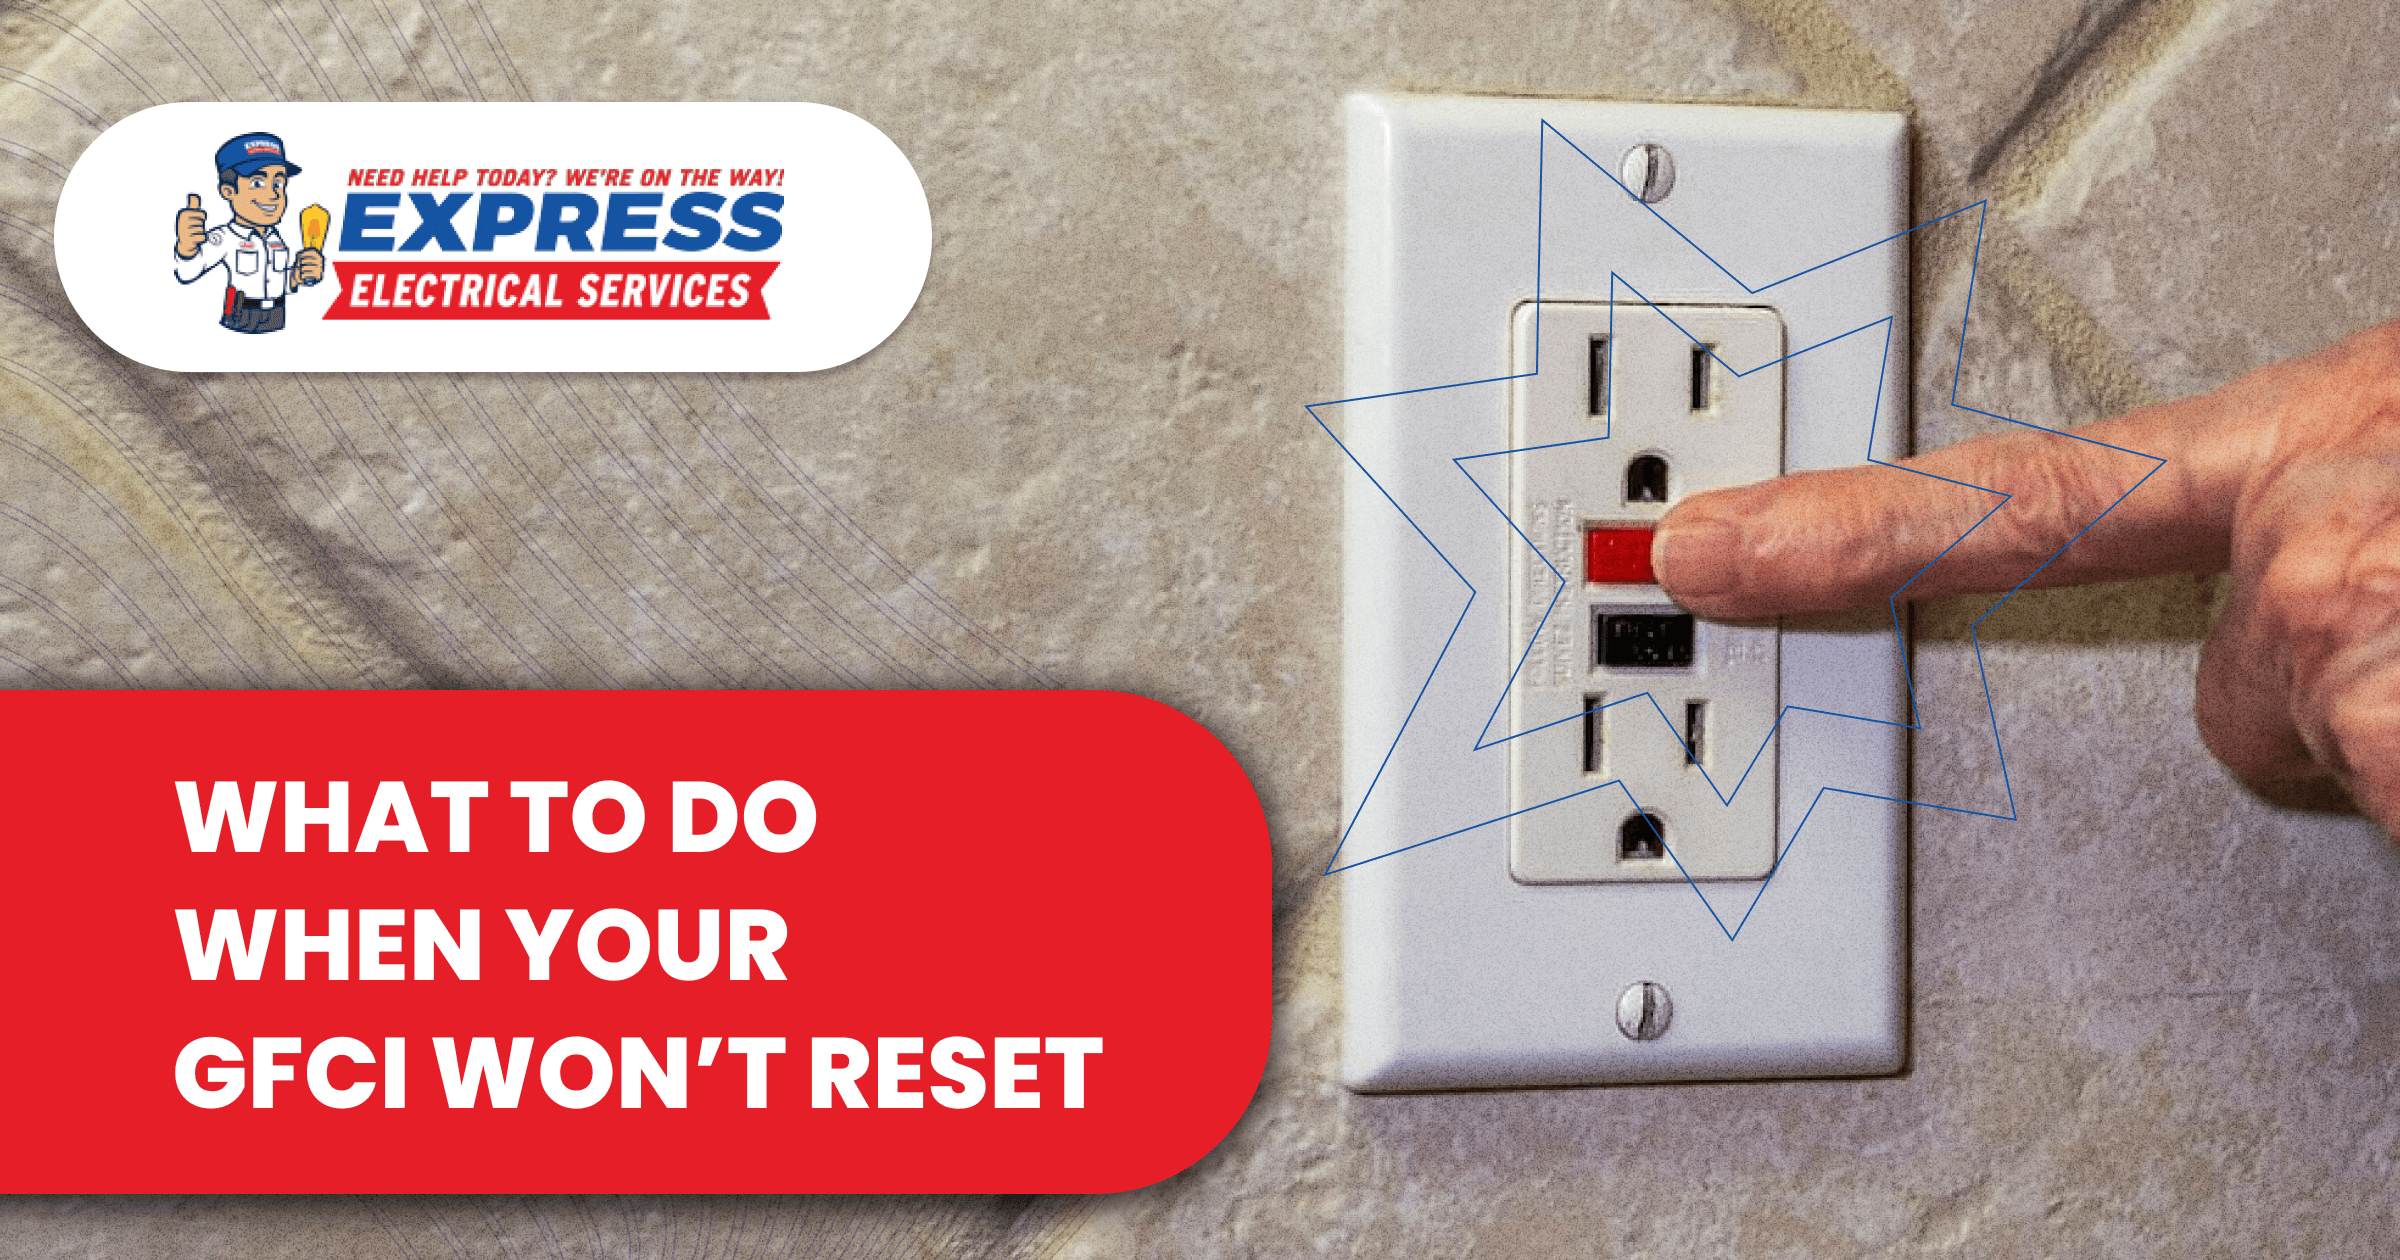
What To Do When Your GFCI Won’t Reset
GFI outlets protect against shocks in wet areas; resetting restores power after tripping.
- Locate the outlet with test and reset buttons, often found in bathrooms or kitchens.
- Press ‘reset’ if power to the outlet has been shut off; test monthly by pressing ‘test’ then ‘reset’.
- If it won’t reset, check the home’s breaker panel for any tripped breakers.
- If you are still having trouble, consult a home electrician for assistance.
Tools Needed – Dry hands – Plug-in GFCI tester (~$10, highly recommended)
Safety Tip: If the GFI outlet won’t reset after resetting, check your breaker system first, or call an electrician.
Reminder: Understanding the basics of GFIU outlets ensures electrical safety and quick fixes.
8). Inspecting and Cleaning Tub and Sink Drains
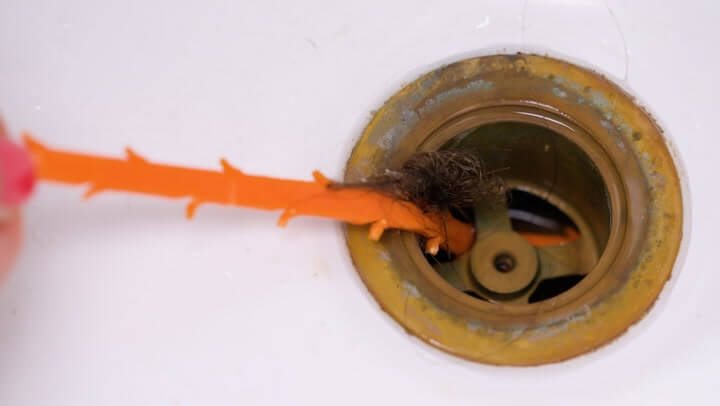
- Remove visible hair or debris with a plastic sink drain snake from Amazon.
- Pour a baking soda and vinegar mixture into the drain, then run hot water.
- Inspect for leaks under sinks during cleaning.
Tools Needed – Plastic drain snake, Bucket & rubber gloves, Baking soda & vinegar.
Safety Tips: Never mix chemical cleaners. Wear gloves.
Reminder: Monthly cleaning can stop clogs before they become plumbing emergencies.
9) Lowering Water Heater Temp Before Vacation
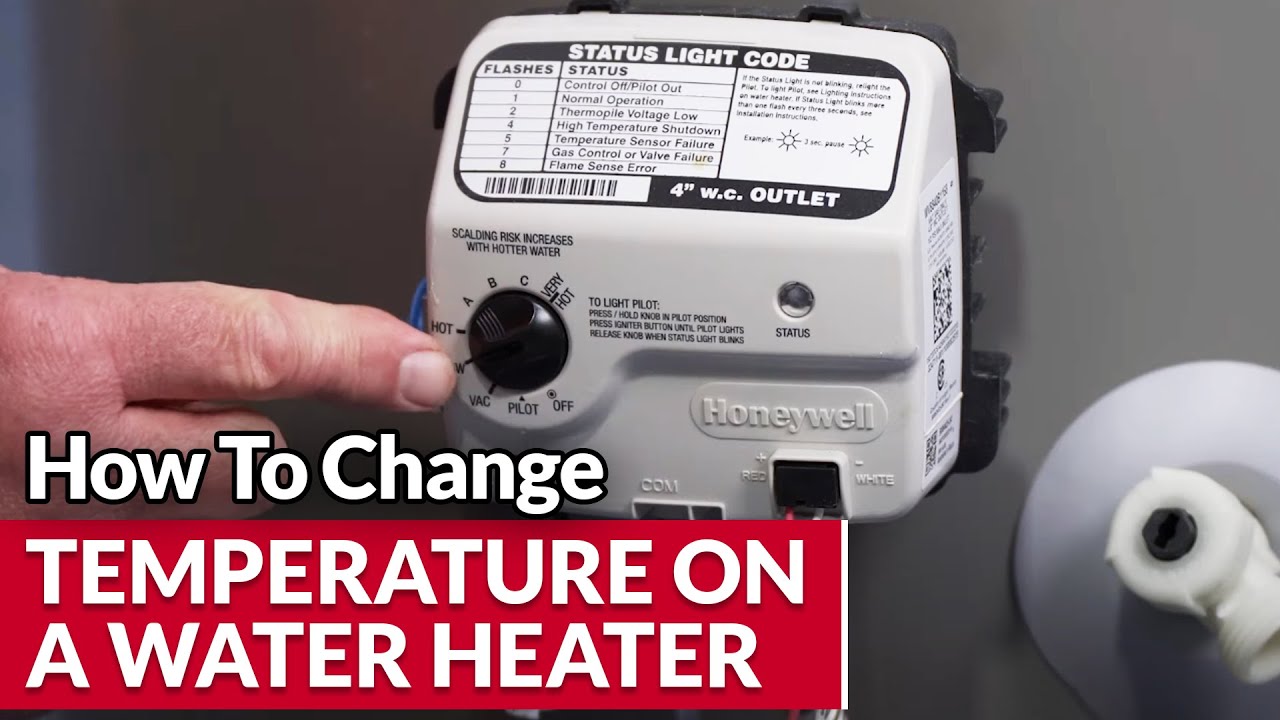
How To Change Temperature On A Water Heater
Lowering the temperature on your water heater while you’re away will save energy and heating costs.
- Find the thermostat dial on the heater; it’s typically set to 120°F.
- Set it to 110°F or to “vacation mode” if available.
- Restore temperature to normal upon return.
Tools Needed – Flat screwdriver (electric heaters) – Flashlight
Safety Tips: Wait 30–60 minutes before touching pipes. Don’t go below 120°F if the dishwasher lacks a booster heater (legionella risk).
Reminder: Turning down your water heater conserves energy and enhances safety during absences.
10) Shutting off Water Before Vacation
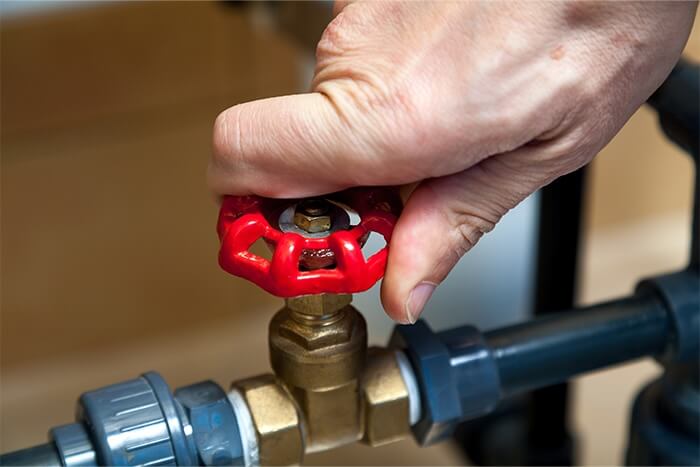
Shutting off the water prevents floods from leaks while you’re gone.
- Locate the main shut-off valve, often near the water meter.
- Turn the valve clockwise to close; drain faucets afterward.
- Open upon return and check for issues.
Tools Needed – Nothing required if you have a manual knob or gate valve at your water shut-off location. Otherwise, you may need an adjustable wrench or water-meter key.
Safety Tip: Test the valve yearly—old ones can seize or rust if not used.
Reminder: A couple of minutes to turn off your water can save your entire house from water damage.
11) Extending Rain Downspout Away from the House
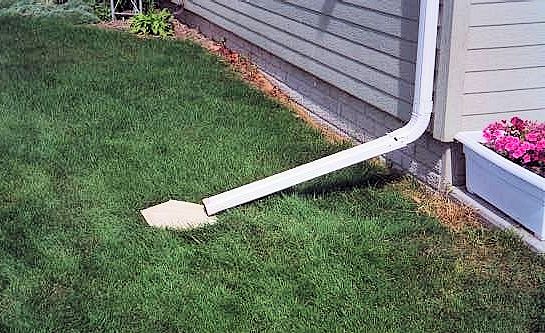
The Downspout Extender:
Extending downspouts directs water away from the foundation, preventing foundation erosion.
- Add flexible or rigid extensions to project at least 5 feet from the house.
- Secure with straps; ensure slope for proper flow.
- Place a concrete or patio block at the end of the downspout to disperse water and prevent puddling.
- Clean gutters regularly for optimal performance.
Tools Needed – Downspout extensions – Sheet-metal screws & drill – Hacksaw – Splash concrete block or ground water diverter
Safety Tips: Use a stable ladder—slope ¼ in per foot away from the house.
Reminder: This is straightforward, cost-effective protection for your foundation.
12) Cleaning Dryer Vents Inside and Outside of Home
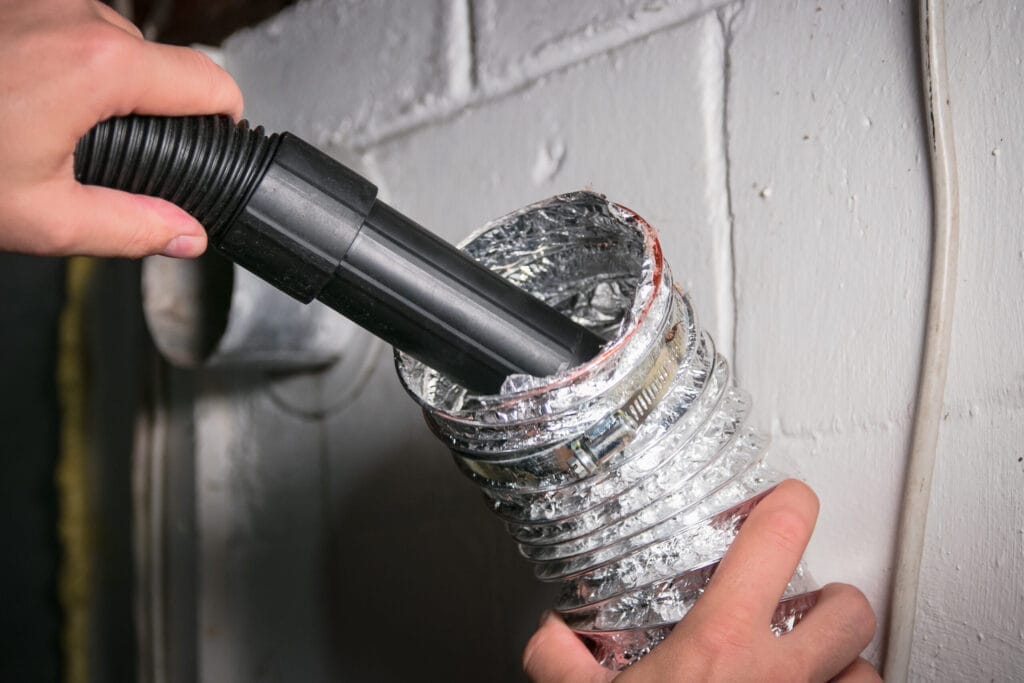
How To Clean a Dryer Vent – This Old House
Cleaning vents reduces fire risks and improves drying efficiency.
- Disconnect the dryer and vacuum inside the duct.
- Use a vent brush for the outside flap; clean annually.
- Check for blockages causing longer dry times.
Tools Needed – Dryer vent brush kit + flexible rods – Cordless drill – Vacuum & dust mask – Screwdriver
Safety Tips: Unplug the dryer or shut off the gas. Wear a mask—lint contains allergens.
Reminder: Regular cleaning of Dryer Vents prevents fire hazards and saves on energy costs.
13) Finding and Sealing Gaps
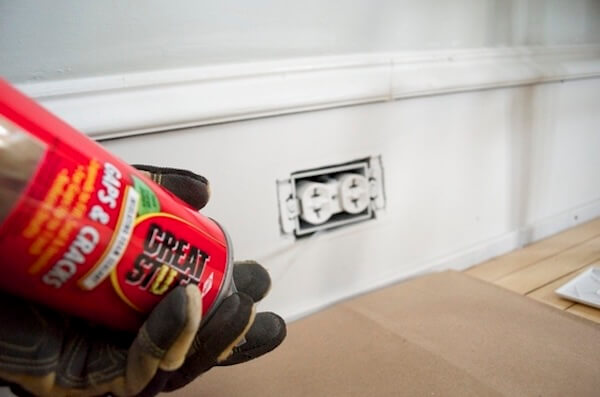
Tools Needed – Screwdriver, Can of Foam Sealant (with spray tube connector – shown), Clean-up rags.
Safety Tips: Go slowly with this task; less can be more. Foam expands quickly. Spray a small amount into the gap between the drywall and the electrical junction box. Never spray foam sealant inside an electrical junction box.
Reminder: Check and fill gaps at all Exterior Wall electrical outlets.
14) Adding Door Sweeps Under Entry Doors
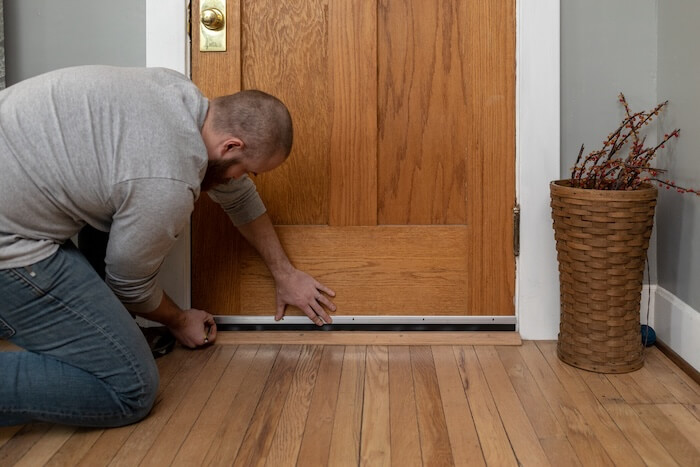
How to Replace Entry Door Sweep | Fix Gap at Bottom of your Door:
Sealing exterior gaps greatly improves energy efficiency and comfort.
- Measure and cut a door sweep or weatherstrip to fit your door width and existing gap.
- Attach to the bottom of the door; adjust the weatherstrip for a snug fit.
- Check for small gaps and seal accordingly.
Tools Needed – Door sweep kit – Tape measure & hacksaw – Drill & screws
Safety Tip: Close the door occasionally while installing the sweep to ensure a perfect fit. Don’t make the door hard to close.
Reminder: Blocking drafts will significantly lower heating/cooling costs year-round, and keep bugs out!
15) Repairing Torn Window Screens
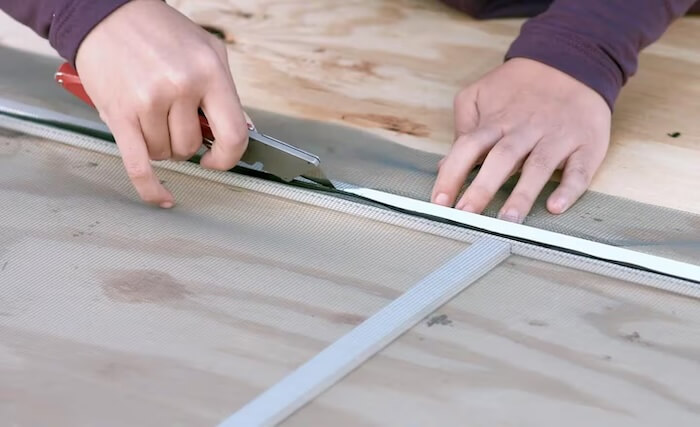
A small tear can quickly become an Insect highway into your home. Or, you can fix it yourself in less than an hour (saving $50–$150 per window).
- Remove the screen frame if possible, or work in place.
- Remove and discard the damaged screen material by first removing the rubber spline.
- Measure and cut a new piece of window screen material, 6″ wider and longer than the window screen frame.
- Using Painters’ tape, place new screen material on the window screen frame, overlapping equally on all sides.
- Use the screen roller tool to press the rubber spline into place.
- Trim the new window screen with a sharp utility knife to remove excess material.
Tools Needed – Screen: roll of replacement screen + spline – Screen rolling tool (spline roller) – Utility knife or scissors – Flat screwdriver (to remove spline if re-screening) – Masking tape (to hold patch while working)
Safety Tips: Work on a flat surface to avoid bending the frame. Wear gloves—cut aluminum screen edges are razor-sharp. Never use super glue or duct tape (both are temporary and ugly).
Summary: Allow 1-2 hours to complete the task, including setup and cleanup. Alternatively, you can bring your damaged screen to a local hardware store that offers screen repair service.
Conclusion
Mastering these simple DIY home-maintenance skills is one of the smartest investments any homeowner can make.
Together, these steps can save the average household thousands of dollars per year by avoiding service calls and preventing water, mold, fire, and structural damage.
These DIY tips will keep your home systems (roof, HVAC, plumbing, electrical, foundation, and appliances) running efficiently for decades.
With just a few of the basic tools most homeowners already own, you can achieve massive savings, greater comfort, and genuine pride in maintaining your most significant investment.
Learn these skills once, and profit from them for life!
Additional Resources & References:
- Ten Best LED Mirrors for Bathroom – Besthomegear.com
- 8 Reasons Why You Should Have a Backlit LED Mirror – Contemporist.com
- 50 LED Mirror Room Ideas – Houzz.com
- How Do You Remove an Old Dishwasher – Besthomegear.com
- The 10 Most Efficient Space Heaters You Can Buy: Best HomeGear.com